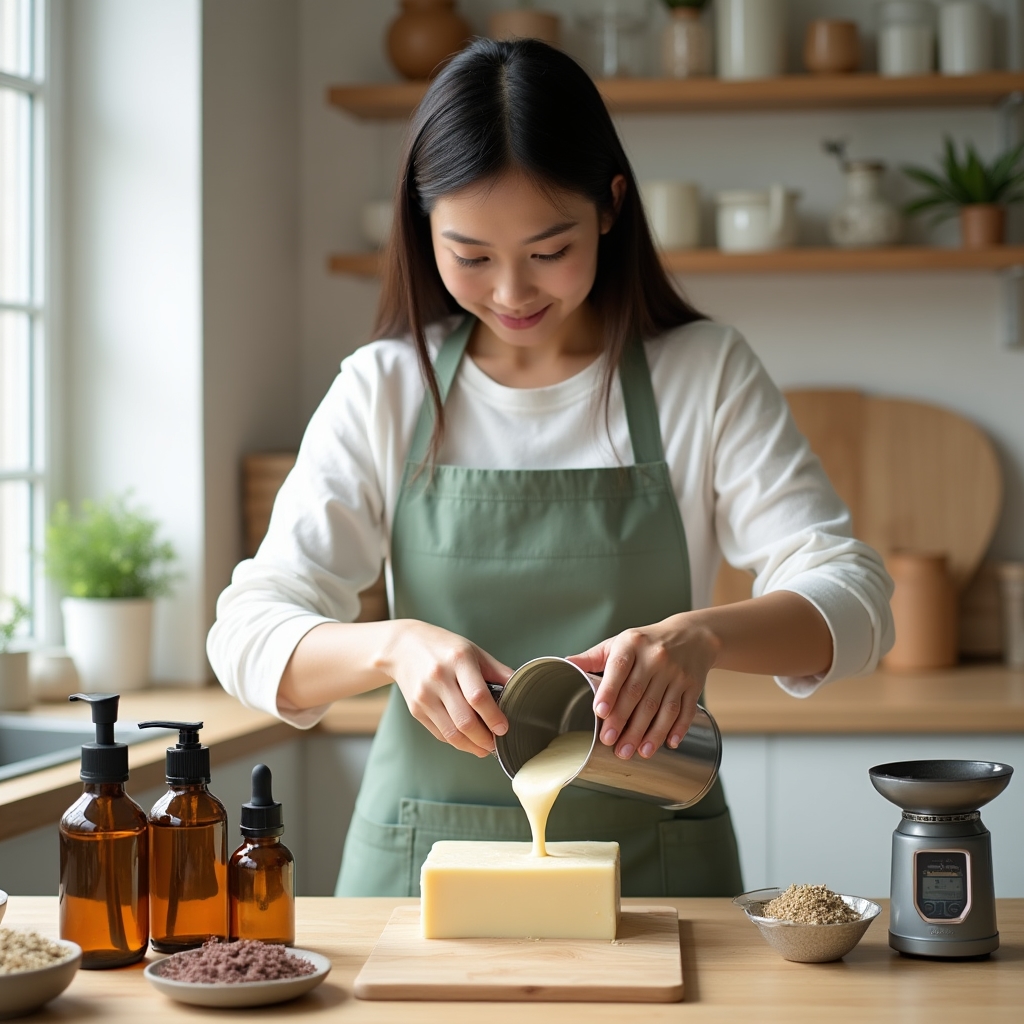
Cold process soap making, botanical blending, and natural bath product creation — taught step by step for personal use at home. No commercial license required.
You mix lye with oils. A reaction happens. What comes out the other side is something genuinely useful, genuinely yours. That's saponification in a sentence — but the craft goes much deeper than that.
Calepo Cakupa is an online learning resource focused on cold process soap making and natural bath product creation. We cover the chemistry, the safety protocols, the fragrance work, and the aesthetic decisions that turn a functional bar into something beautiful.
See What We Teach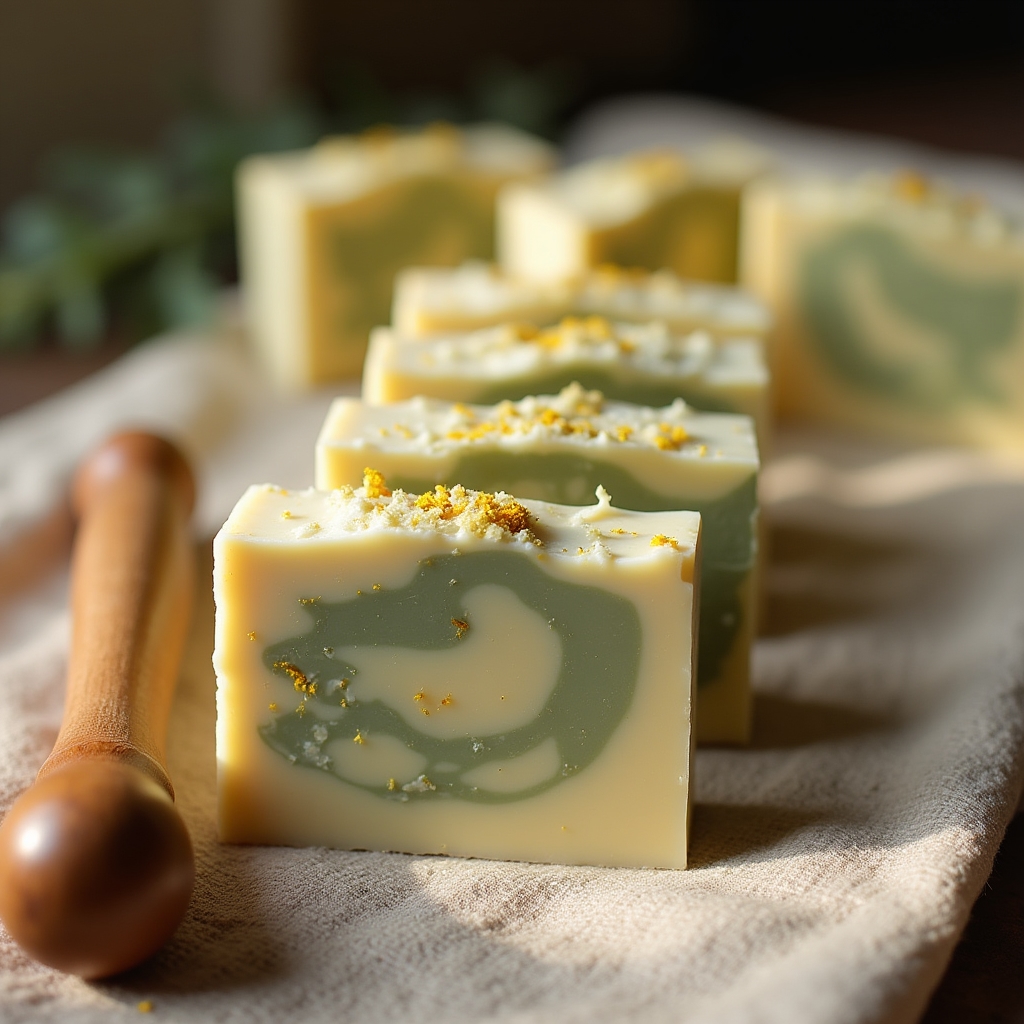
Each module is built around the actual process — not abstract theory detached from your kitchen counter.
Sodium hydroxide is the one ingredient that demands respect. We walk through protective equipment, mixing procedures, and workspace setup so you handle it confidently.
Fragrance in soap behaves differently than in a diffuser. Learn usage rates, note combinations, and which oils survive the saponification process with their scent intact.
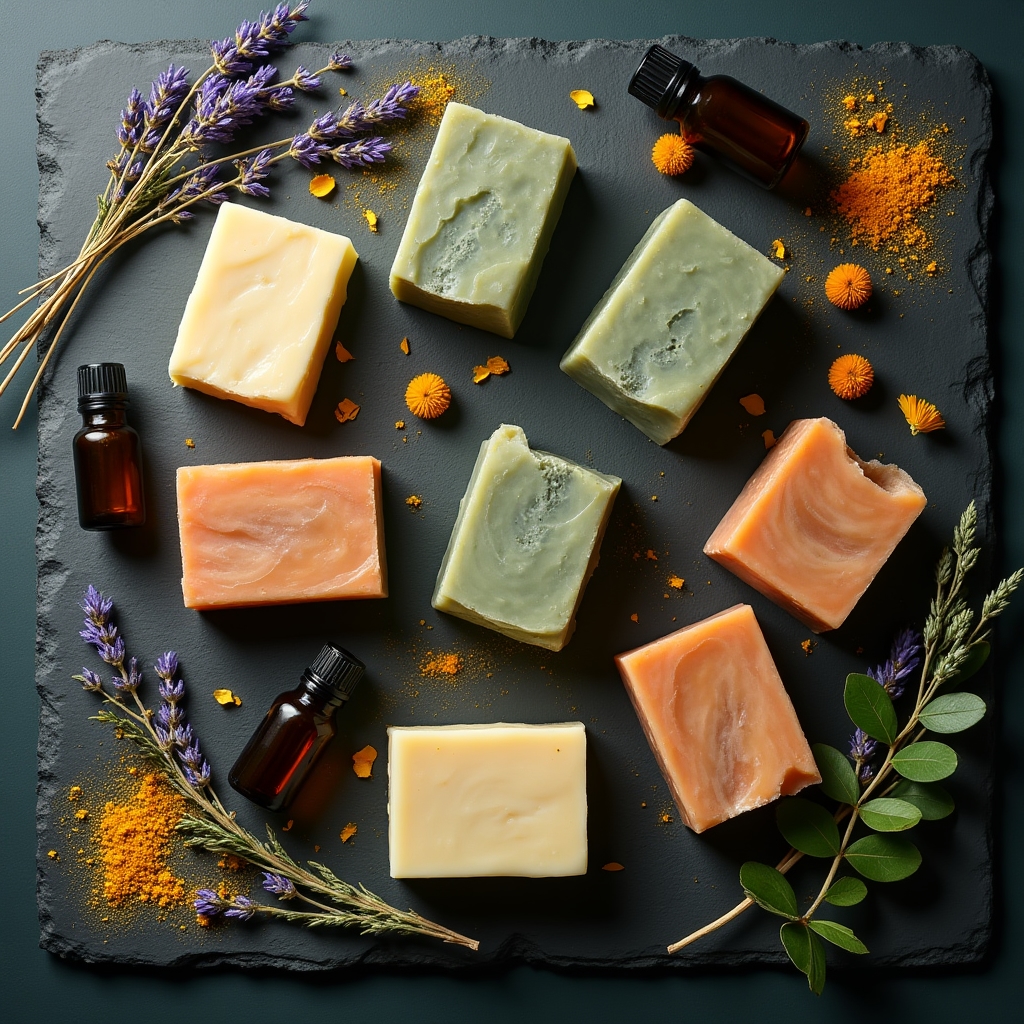
Calendula petals, activated charcoal, kaolin clay, dried lavender. Understand what each additive actually does to your bar's texture, appearance, and skin feel.
Loaf molds, individual cavity molds, silicone, wood, acrylic. Each material affects unmolding, insulation, and the final bar's surface. We compare them practically.
SAP values, lye calculators, water discounts, superfat percentages. The numbers behind soap making become intuitive once you understand what each variable changes.
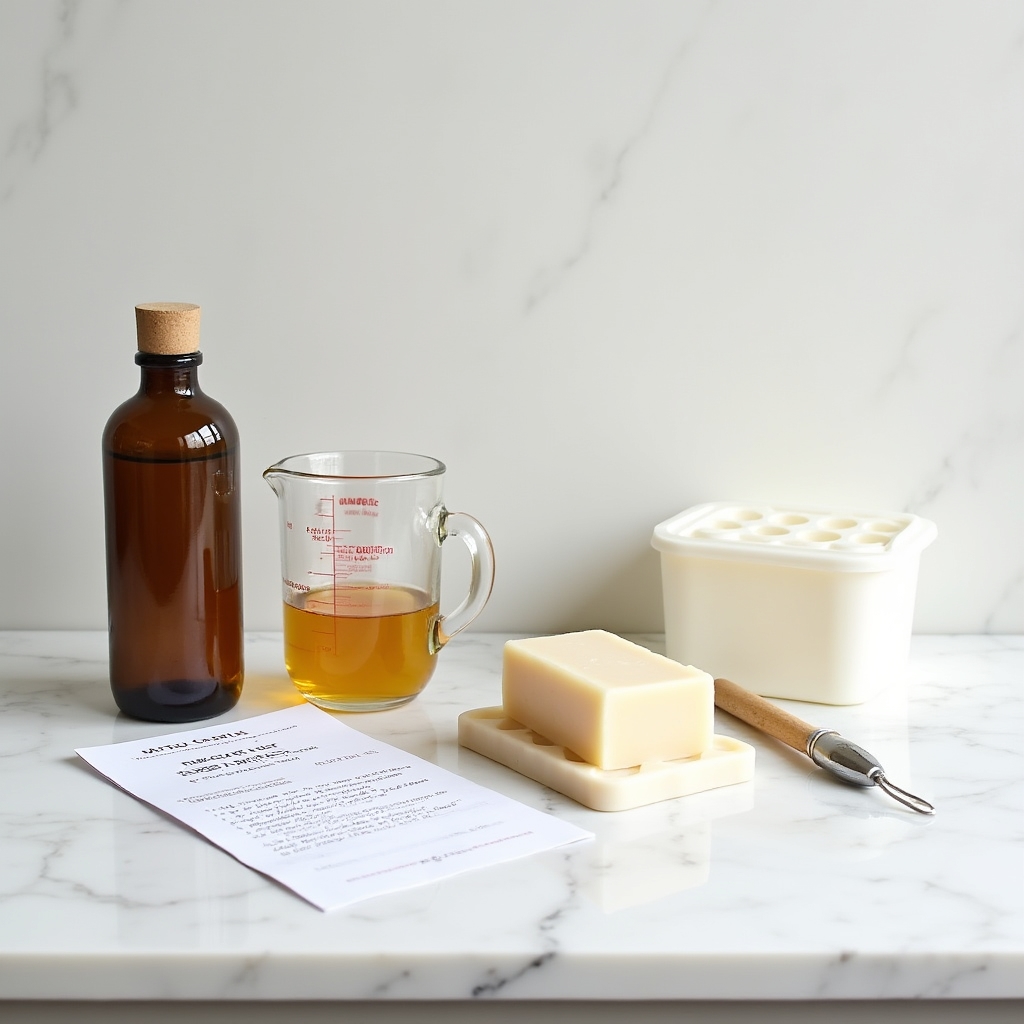
Start here. Learn the basic oil blend, understand the lye calculation, and make your first successful bar. Safety first, chemistry second, creativity third.
Learn More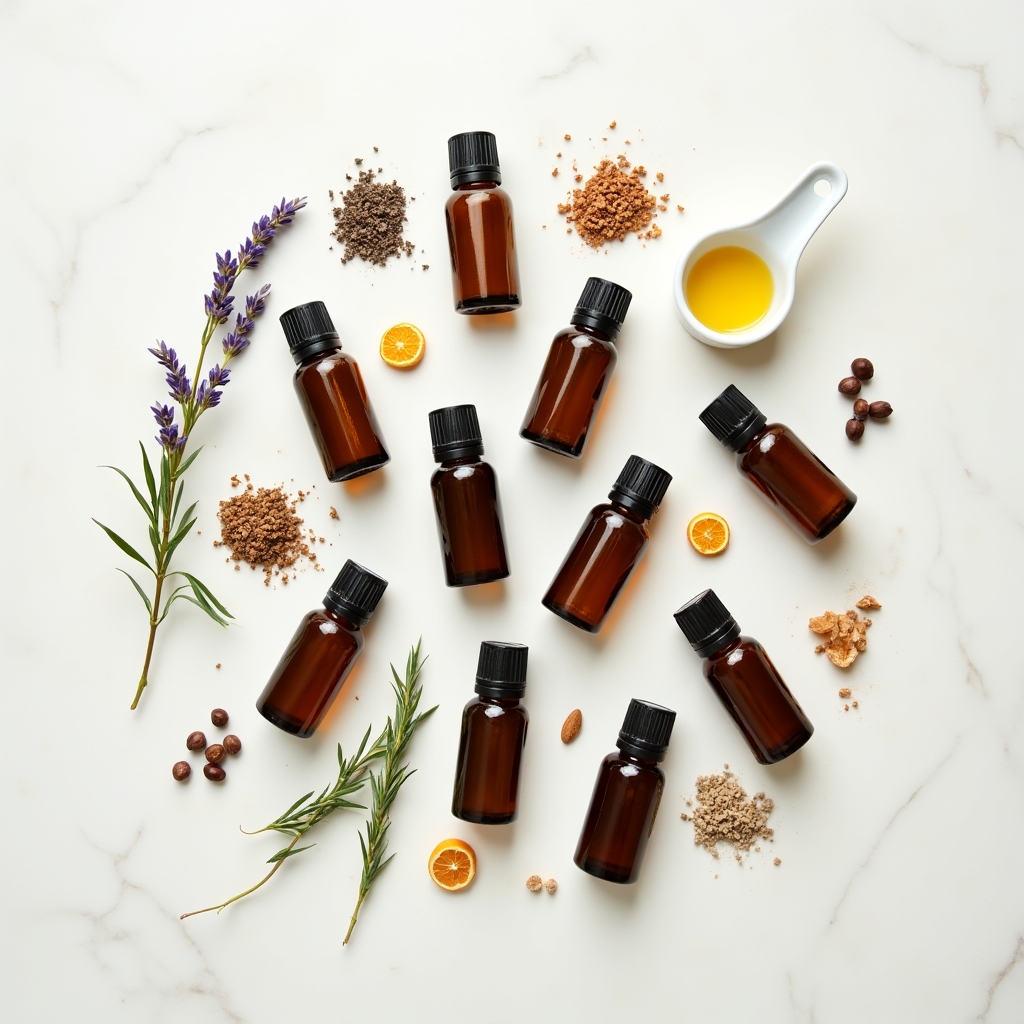
Top, middle, and base notes. Fragrance oil vs essential oil. Acceleration and ricing. This module covers what every soap maker eventually needs to know.
Learn More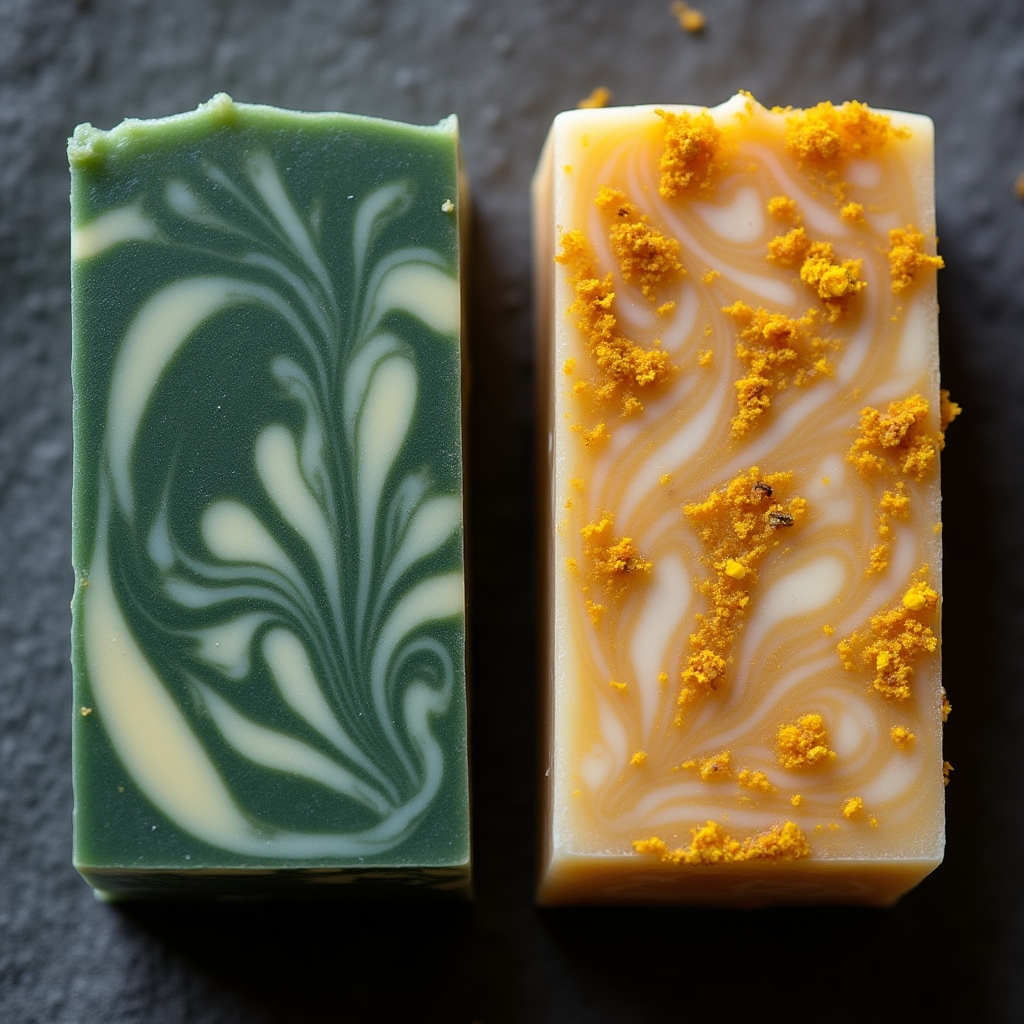
Swirls, layers, embeds, and textures. Natural colorants from clays, micas, and botanicals. Turn your soap from functional to genuinely beautiful.
Learn More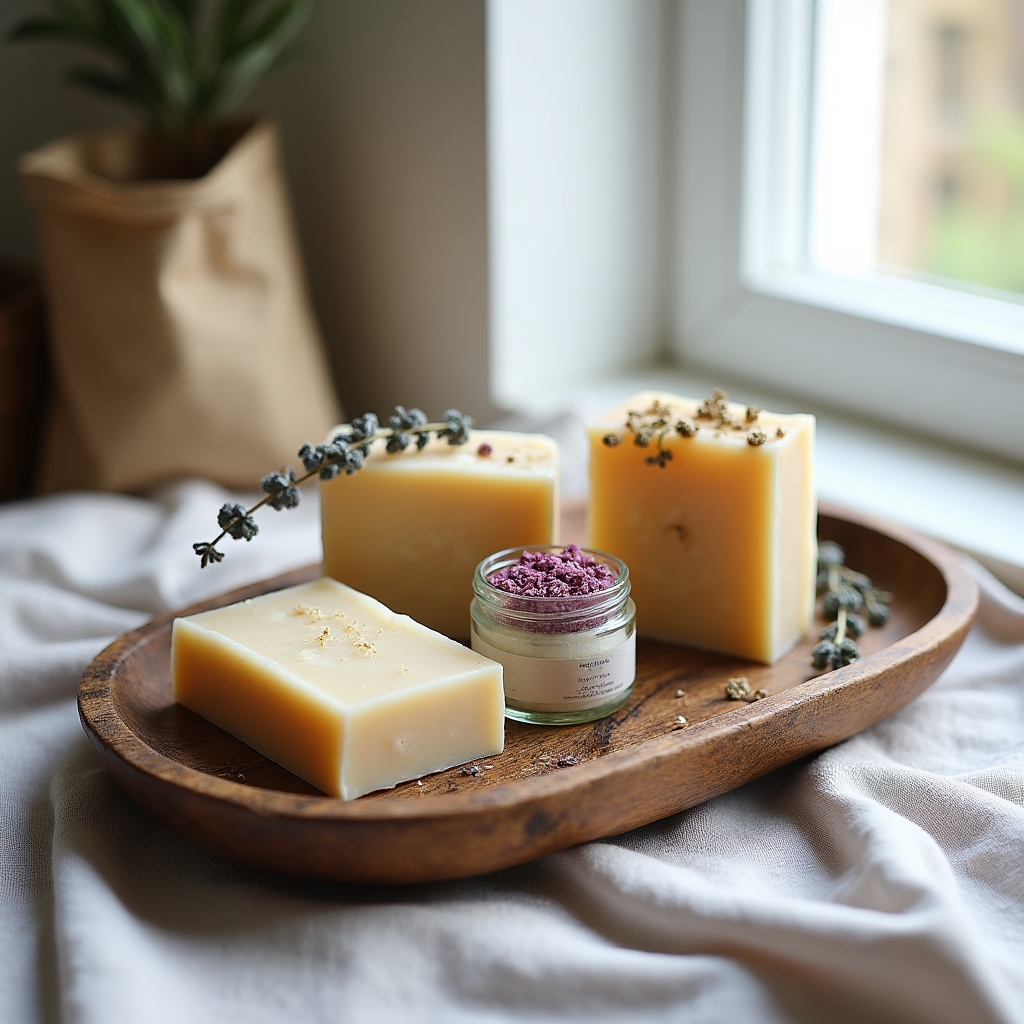
Bath salts, body scrubs, lotion bars, and whipped butters. Expand your personal care repertoire using the same botanical knowledge base.
Learn More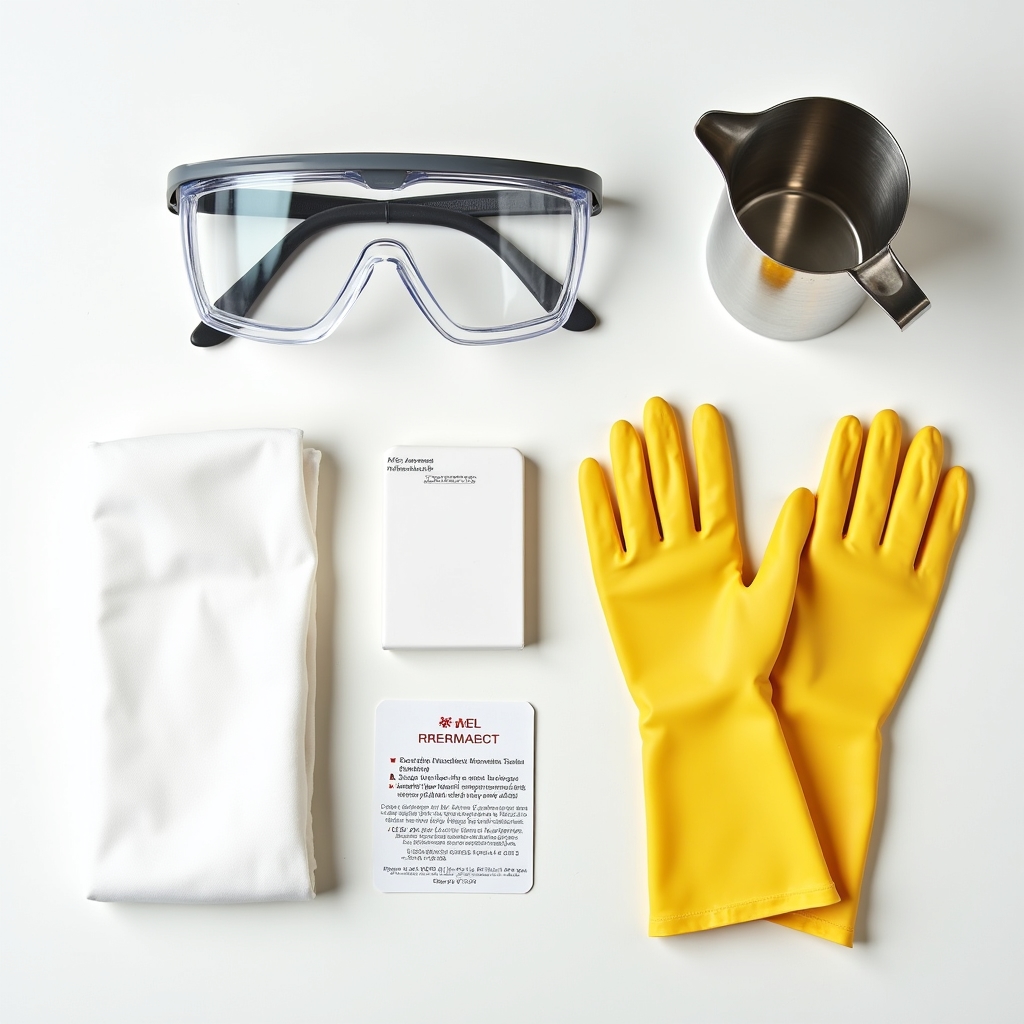
A standalone module on sodium hydroxide. Handling, storage, disposal, first aid. Covers everything you need before you open that first container.
Learn More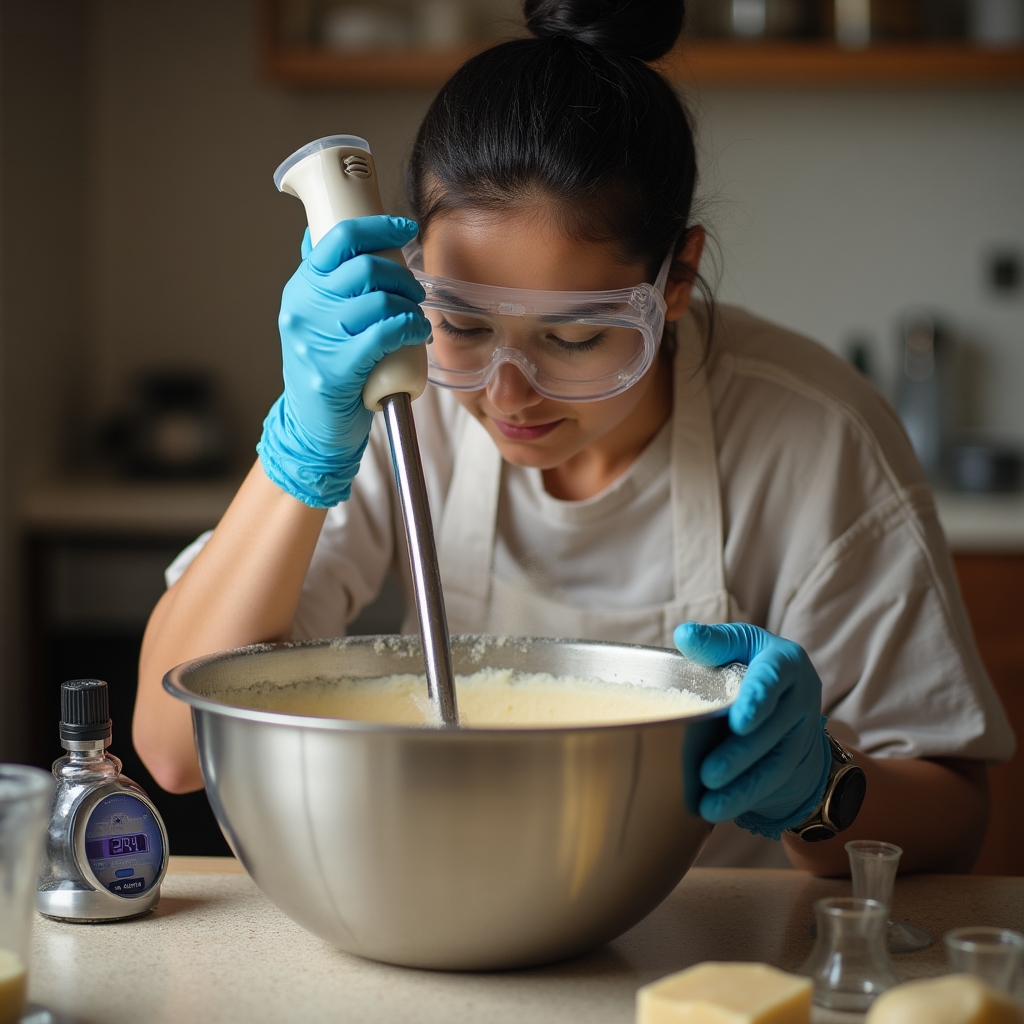
You heat your oils to the right temperature. You dissolve lye in water — carefully, with ventilation. You combine them at trace. Then you pour, insulate, wait 24 hours, and unmold something that needs four to six weeks to cure before it's ready.
That curing window is where the magic happens. Water evaporates, the bar hardens, the pH drops. What started as a caustic mixture becomes a mild, conditioning bar. Understanding each stage is what separates a consistent maker from someone who gets lucky sometimes.
The equipment list is short. The ingredients are accessible. What you need is a clear understanding of the process — and that's exactly what we provide.